
Prescott Valley Epoxy Pros
Garage Floor Epoxy Coatings
Garage floor epoxy coatings in Prescott Valley, AZ. Grind, repair, coat, cure. Free estimates on every job.
- 15+ Years local experience
- 500+ Projects completed
- Licensed & Insured
Serving Prescott Valley and nearby communities.
Your garage floor takes the worst of it. Hot tires, dropped tools, oil drips, winter grit tracked in off Highway 69. Prescott Valley Epoxy Pros grinds the slab, fills the cracks, and builds a coating system that actually bonds instead of flaking off in year two.
This isn't a roll-on-and-hope job. Cooler nights at this elevation mean the crew watches temperature windows closely so the coating cures the way it's supposed to, not half-set and soft. The result is a floor that handles a parked car, a workbench, and whatever else lands on it.
What's included
What's Included
Typically included: Optional: Customer prep:
- Full-surface diamond grinding to open the concrete
- Crack and pit filling before any coating goes down
- Epoxy base coat plus a protective topcoat
- Decorative flake broadcast for a textured, multi-color look
- Polyaspartic or polyurea topcoat upgrade for faster cure and better UV hold
- Clear the garage of vehicles, boxes, and shelving before the crew arrives
- Note any existing oil stains or known cracks when you call
Want a clearer scope?
Get a Free EstimateGarage Floor Epoxy Coatings
Garage Floor Epoxy Coating Process
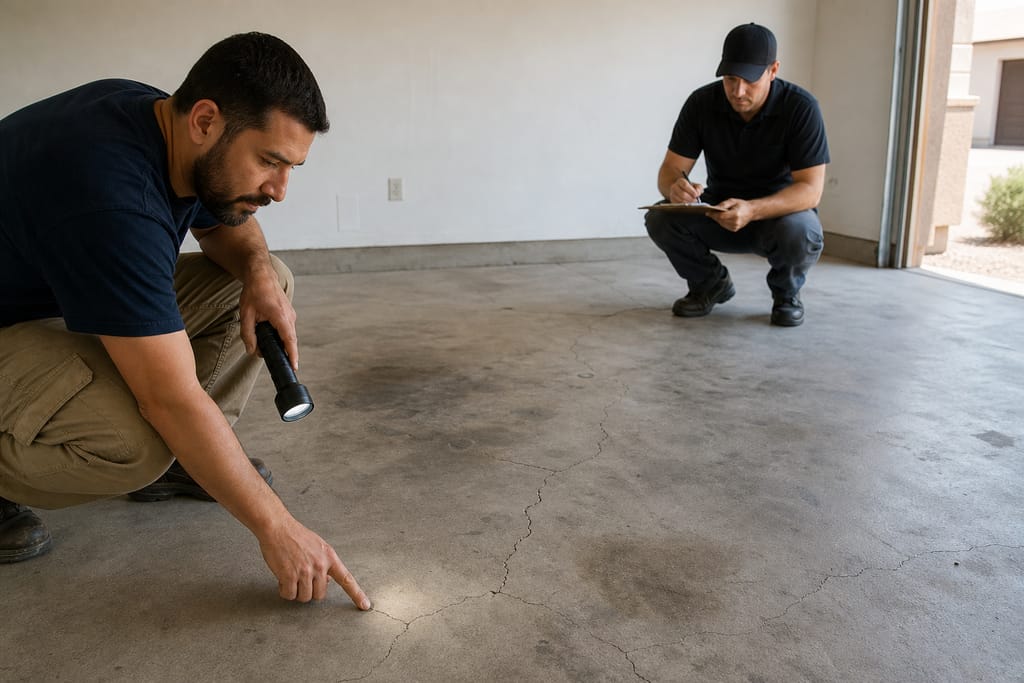
- Garage Floor Inspection — Technician checks oil stains, cracks, and slab condition before prep starts.
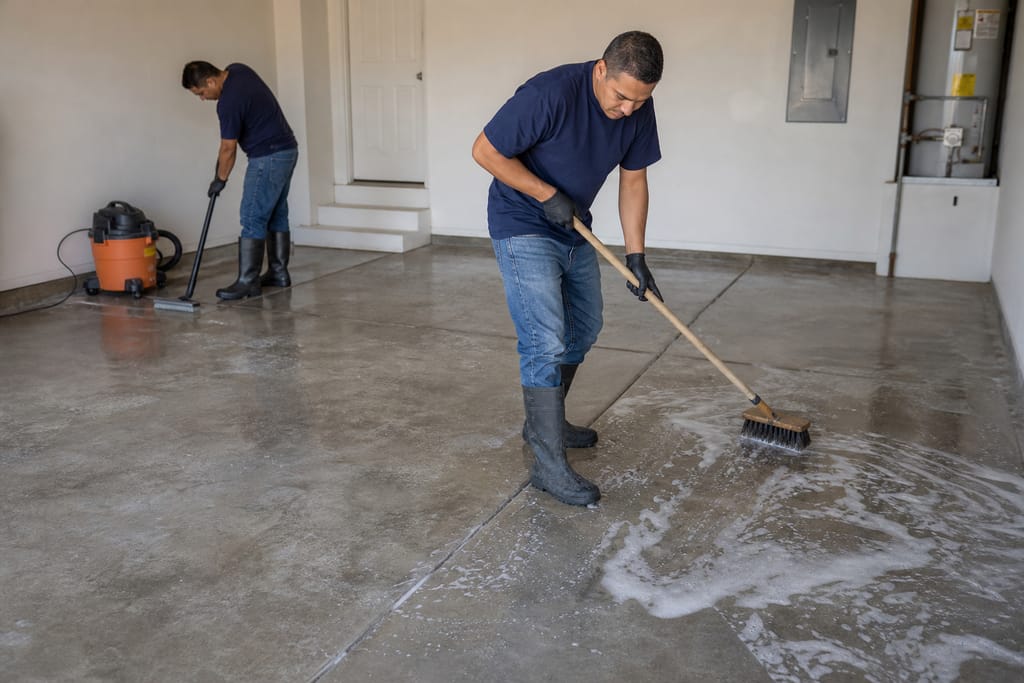
- Degrease & Clean Surface — Oil and grease residue gets stripped so the coating can actually bond.
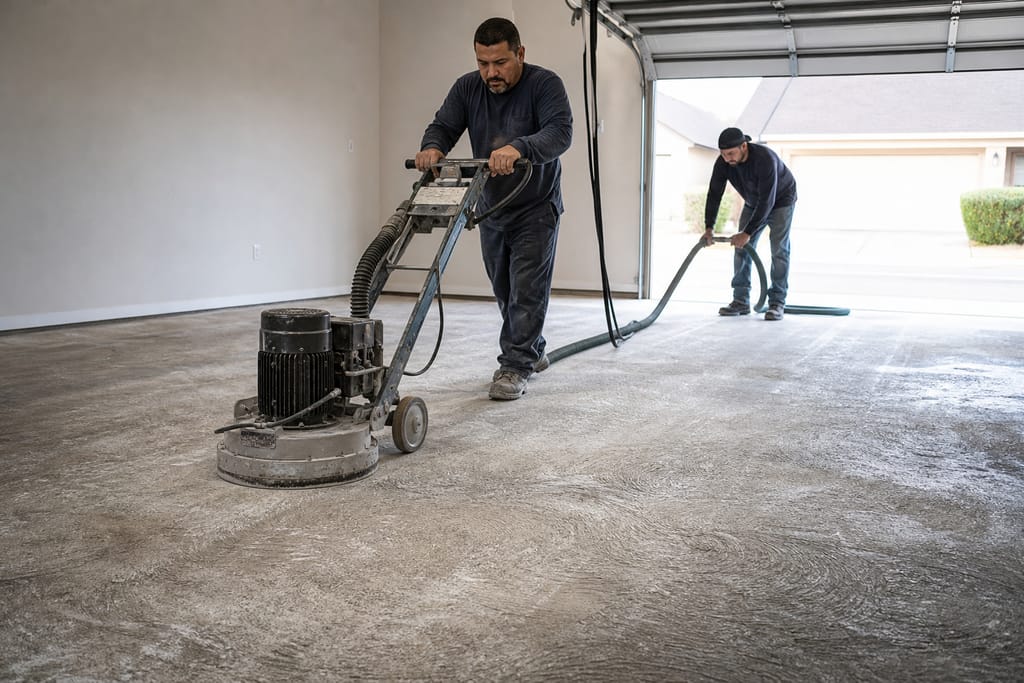
- Surface Profiling — Grinding opens the concrete pores for a mechanical bond, not just a surface skin.
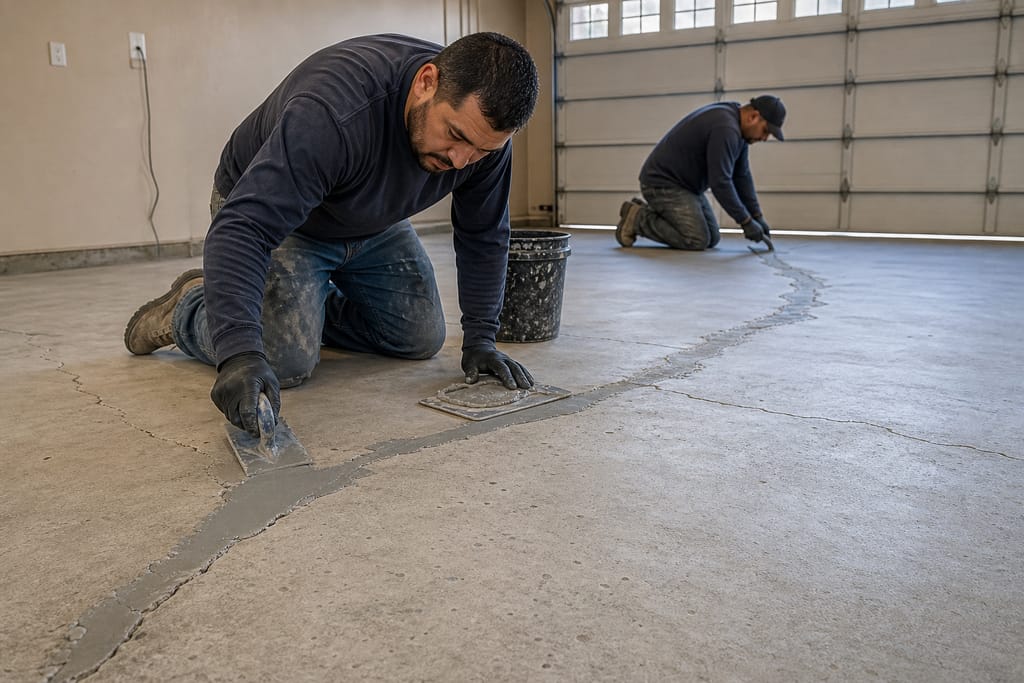
- Crack Filling — Minor cracks and chips get filled flush before any coating touches the slab.
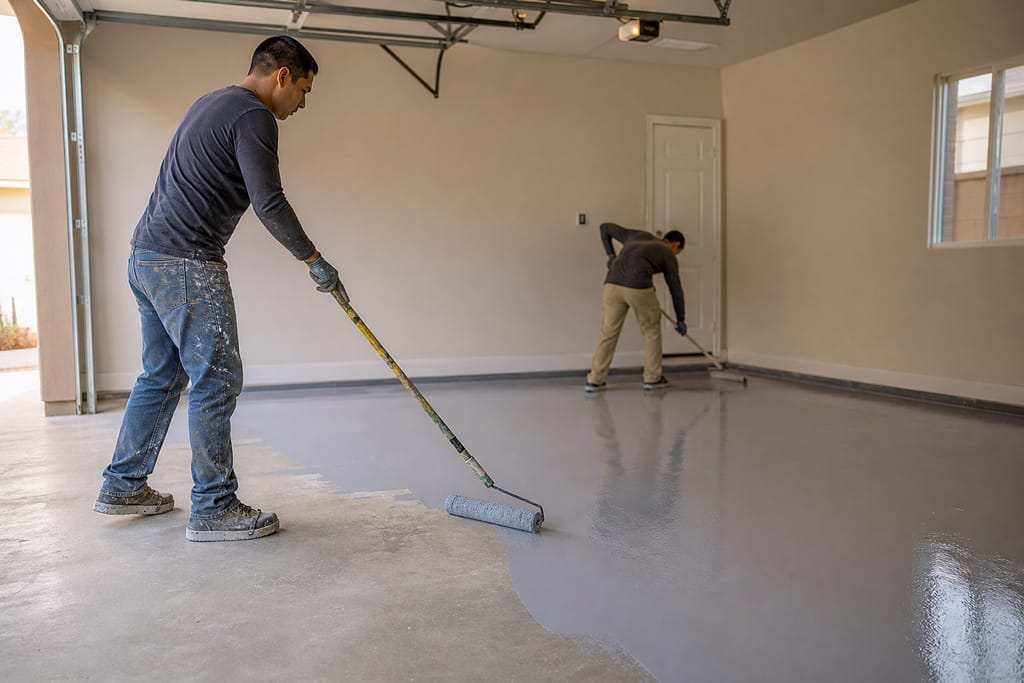
- Epoxy Base Coat Application — A durable epoxy layer goes on for impact and chemical resistance.
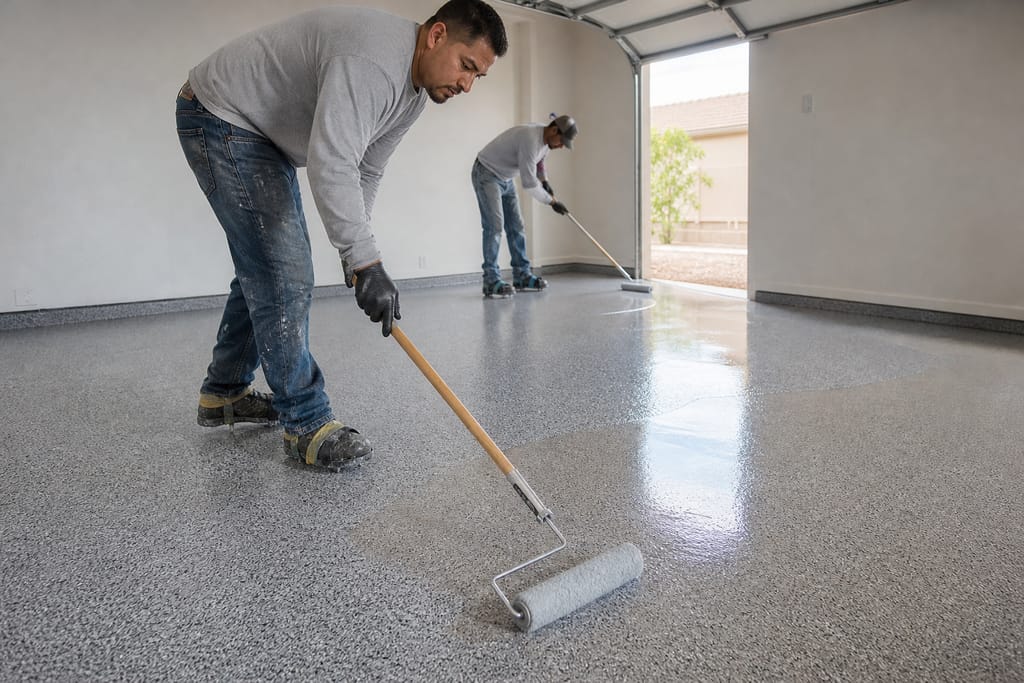
- Protective Sealant Finish — A clear sealant locks in the coating and makes daily cleanup easier.
Questions about this?
Get a Free EstimateMaterials
Materials and Methods for Garage Floor Epoxy Coatings
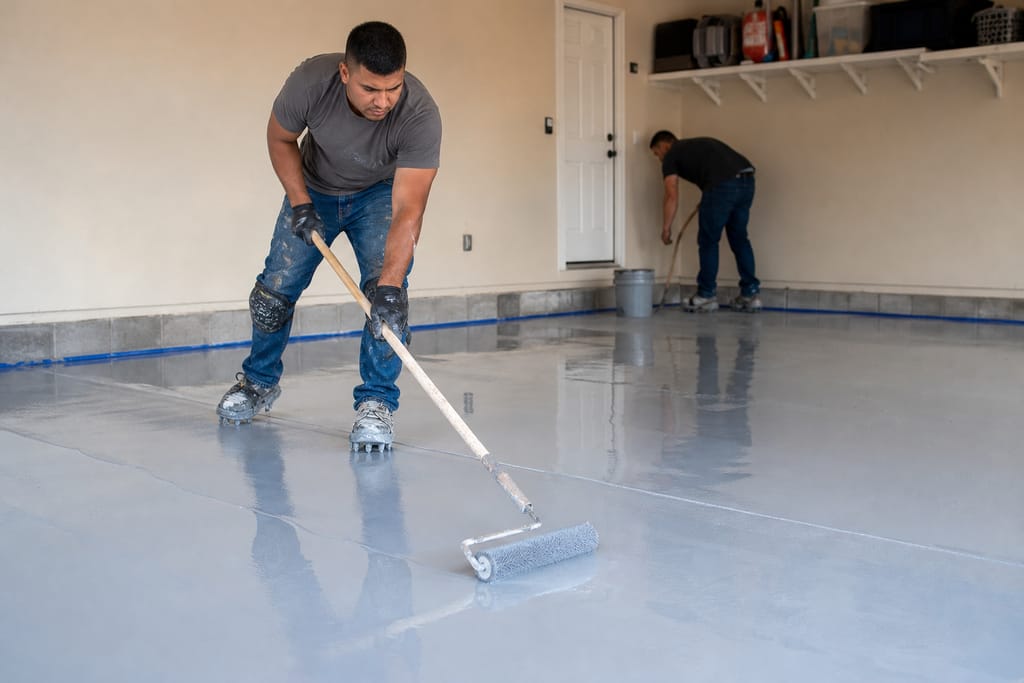
High-Build Epoxy Coating
A thick epoxy formula holds up to vehicle weight and the spills that come with it, which matters when temperature swings put extra stress on a thin coat.
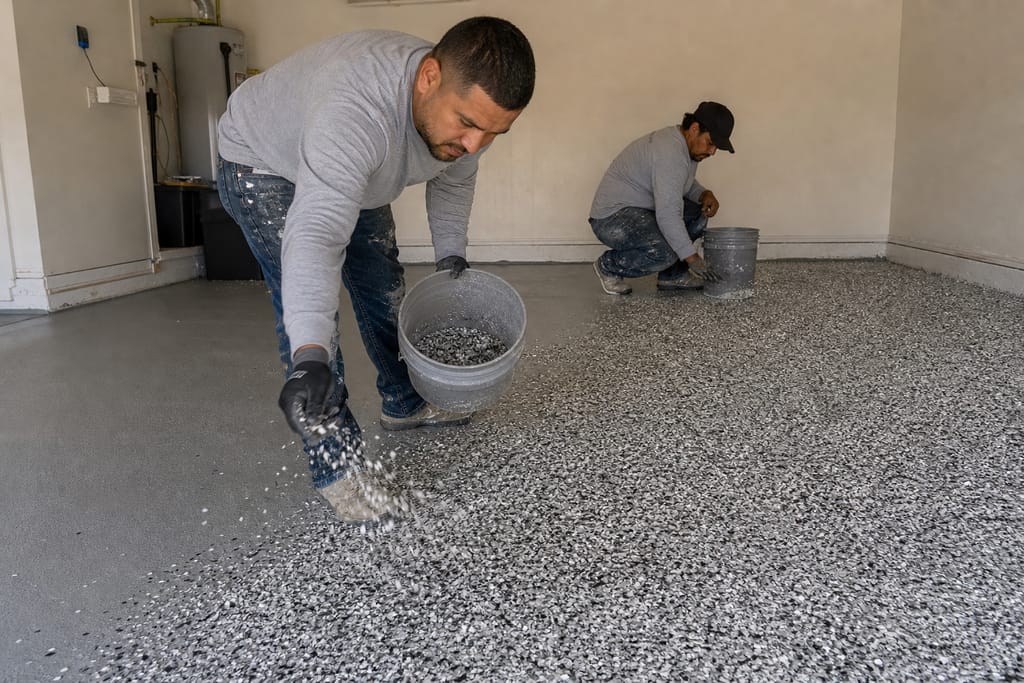
Decorative Flake Blend
Color flakes mask minor surface imperfections, a plus on older slabs around town that were never perfectly finished.
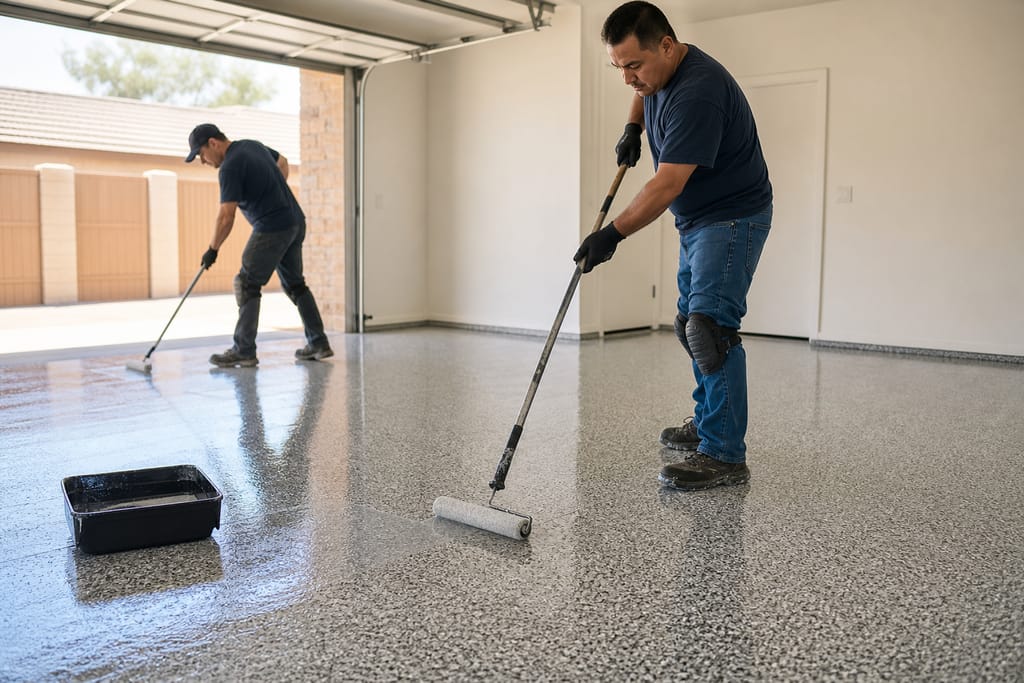
Chemical-Resistant Sealer
Protects against oil, antifreeze, and winter de-icer residue tracked in off the driveway.
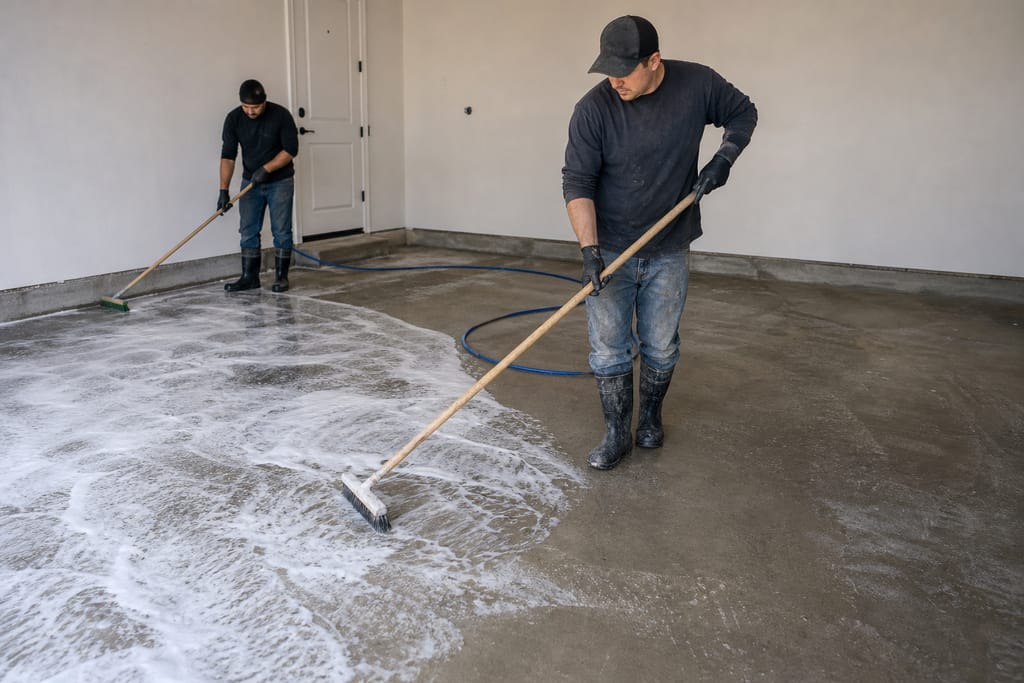
Concrete Etching Solution
An acid-based solution opens the concrete surface for better coating adhesion.
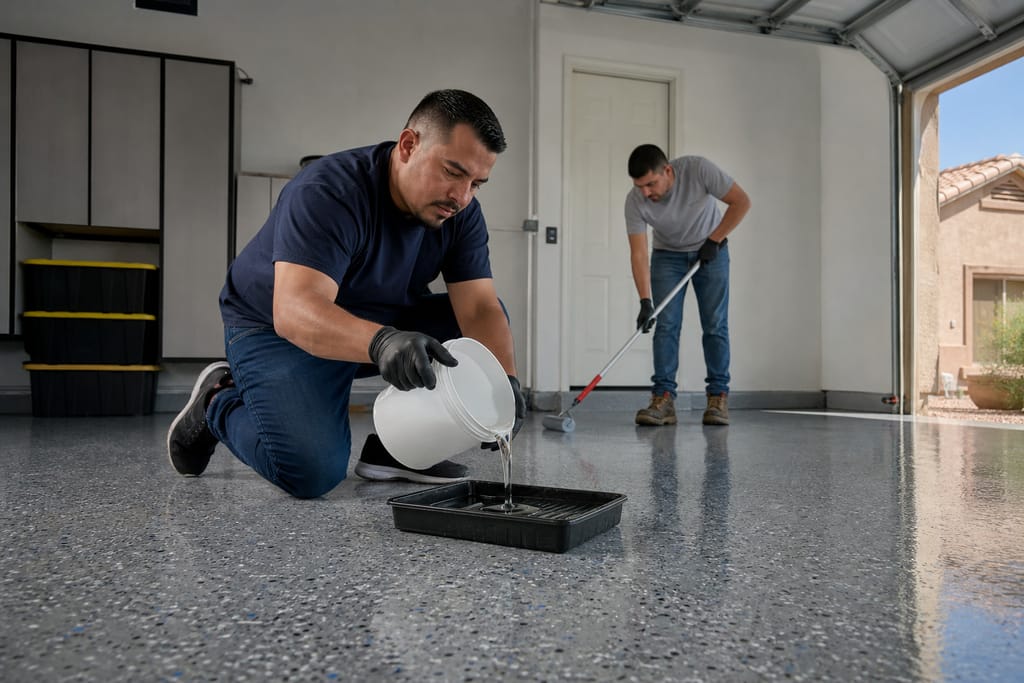
Fast-Cure Hardener
Speeds up cure time, which helps on cooler install days when the temperature window is tighter.
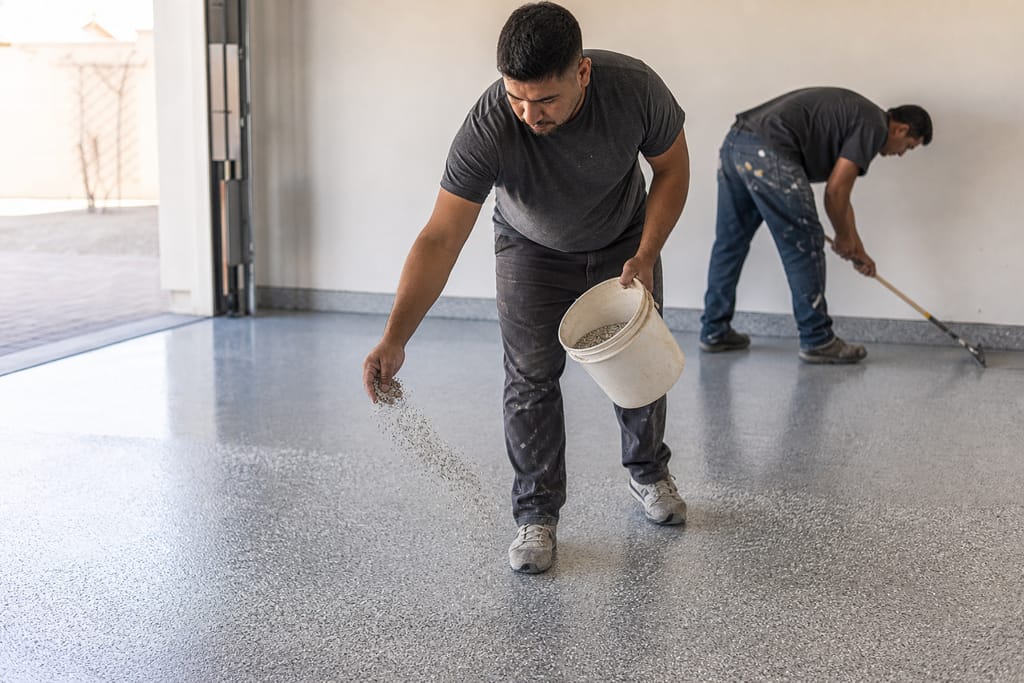
Non-Slip Texture Additive
Adds grip underfoot, useful when snowmelt or rain tracks in from outside.
Questions on materials?
Get a Free EstimateTimeline
How Long Does a Garage Floor Epoxy Coating Take?
A typical single or two-car garage runs on a predictable schedule, though winter jobs need a wider window for cure.
- 01
Consult and measure
same day - 02
Grinding and crack repair
1 day - 03
Base coat and topcoat application
1–2 days - 04
Cure before foot traffic
24 hours - 05
Cure before parking a vehicle
3–7 days
Need a schedule that fits?
Get a Free EstimateFAQs
Garage Floor Epoxy Coating FAQs
How much does epoxy garage floor coating cost in Prescott Valley AZ?
Most single-car garages run $1,500–$3,000 and two-car garages run $2,500–$5,000, depending on slab condition and whether flake or a premium topcoat is added. Ask for a written estimate before committing.
How long before I can park a car on a new epoxy garage floor?
Light foot traffic is usually fine within 24 hours. Full vehicle weight needs 3 to 7 days of cure, longer in cold weather since the chemical reaction that hardens the coating slows down at lower temperatures.
How do I get rid of hot tire marks on a garage floor?
Hot tire marks usually mean the old coating wasn't properly ground or primed before application. A full regrind and recoat with a polyaspartic or polyurea topcoat resists that lifting better than standard epoxy alone.
Can epoxy flooring be applied in cold weather or do I have to wait for summer?
It can, but the crew needs a wider temperature window to keep the coating curing correctly. Cooler months just mean longer cure times between coats, not a stop in work.
Do I need to grind or can I just acid-etch the floor first?
Grinding gives a stronger mechanical bond than acid etching alone, especially on older or previously coated slabs. Etching can work on newer, bare concrete but grinding is the more reliable standard.
Before & after
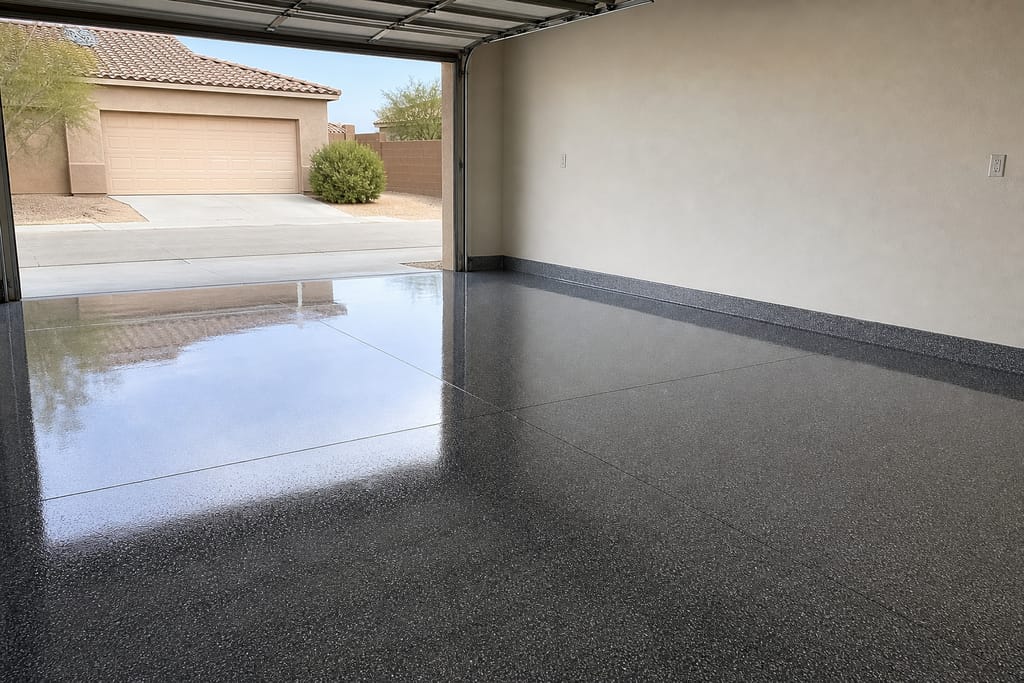
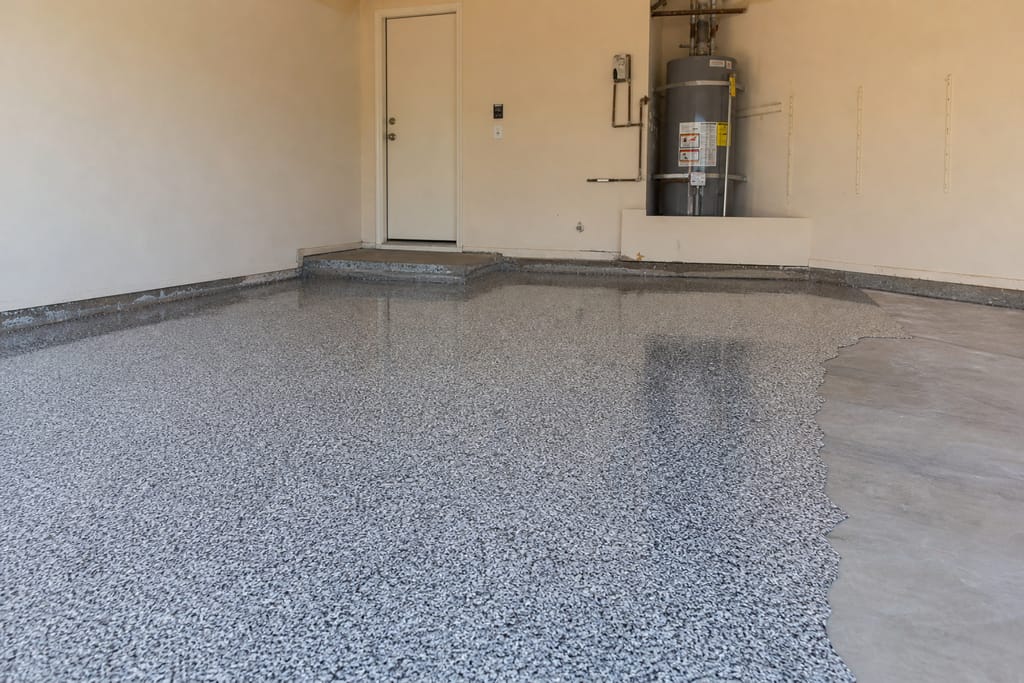
Before and After Garage Floor Coating Results
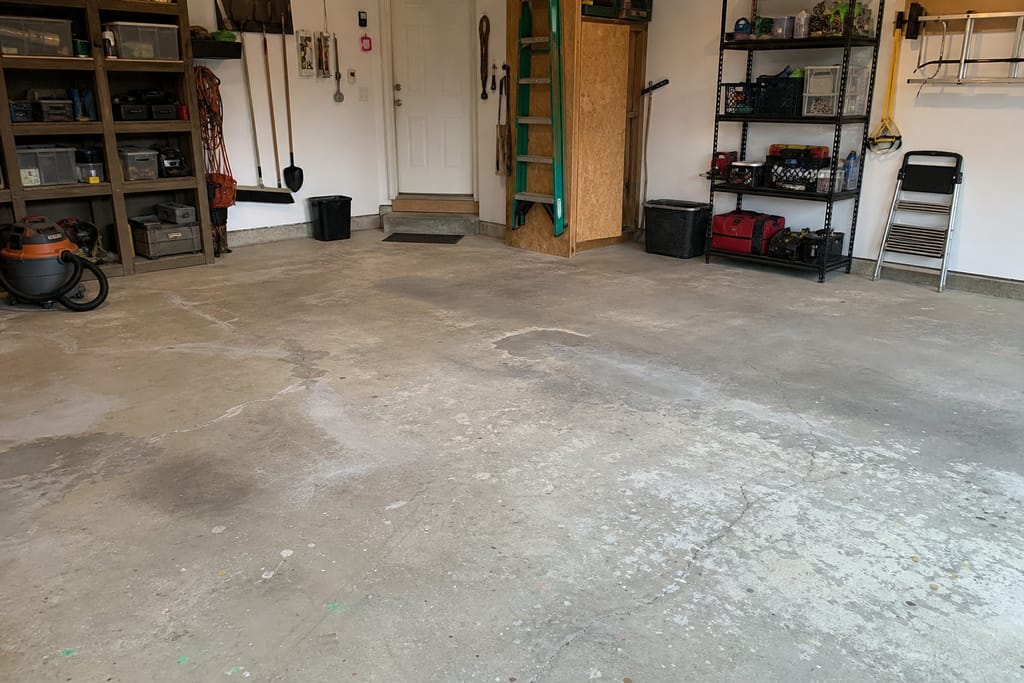
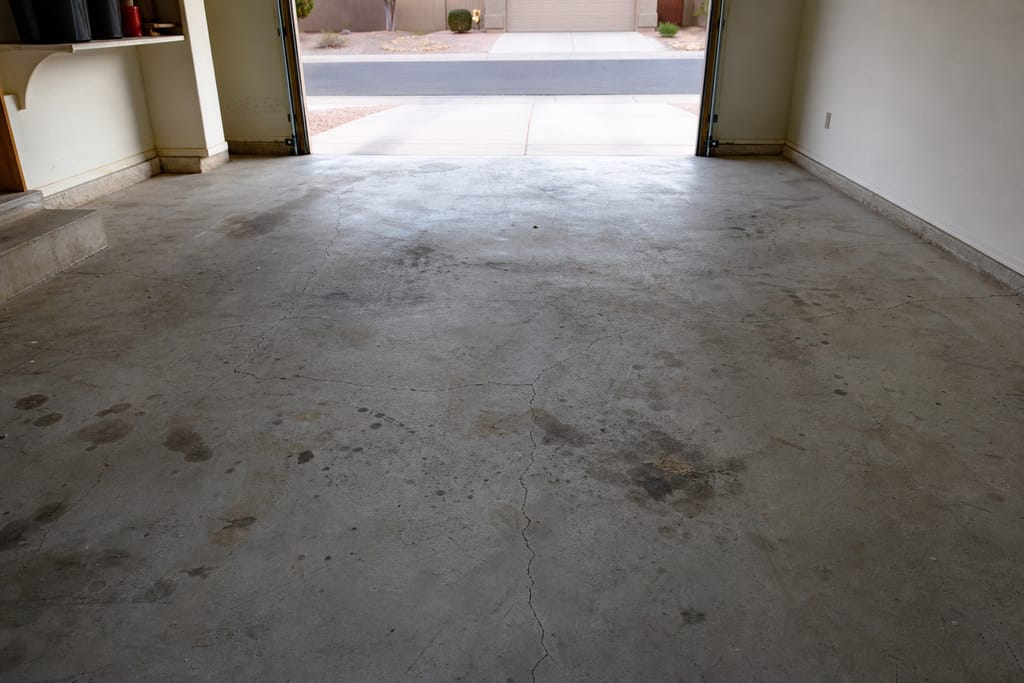
Before 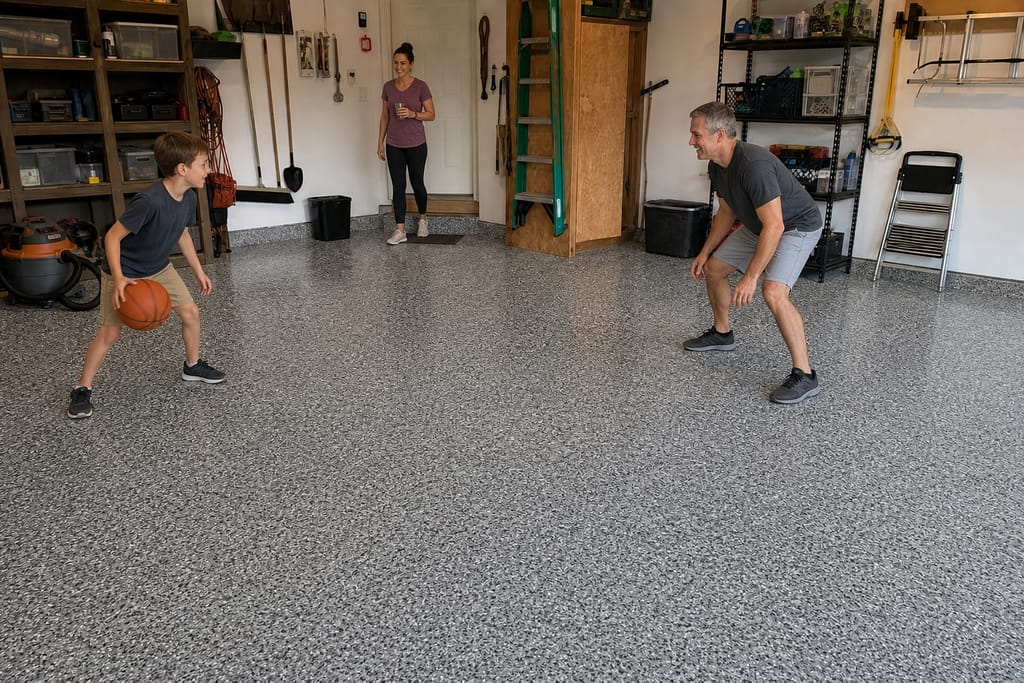
After
Next step
Get a Garage Floor Epoxy Coating Estimate in Prescott Valley
Call Prescott Valley Epoxy Pros at +1 (928) 985-3203 for a free estimate on your garage floor. See Home for the full service list or visit Contact to request a quote, and check out Epoxy Floor Coatings if you're also coating a basement or utility room.
How it works
Our process
 Step 1
Garage Floor Inspection
The existing slab is checked for oil stains, cracks, and overall condition before prep work starts.
 Step 2
Degrease & Clean Surface
Oil and grease residues are removed to ensure proper bonding of the coating system.
 Step 3
Surface Profiling
Grinding or etching creates a textured surface so coatings adhere securely to the concrete.
 Step 4
Crack Filling
Minor cracks and chips are filled to create a smooth, even base for coating.
 Step 5
Epoxy Base Coat Application
A durable epoxy layer is rolled on to provide impact and chemical resistance.
 Step 6
Protective Sealant Finish
A clear sealant is added for extra durability and ease of cleaning in daily use.
More services
Other Epoxy Flooring services
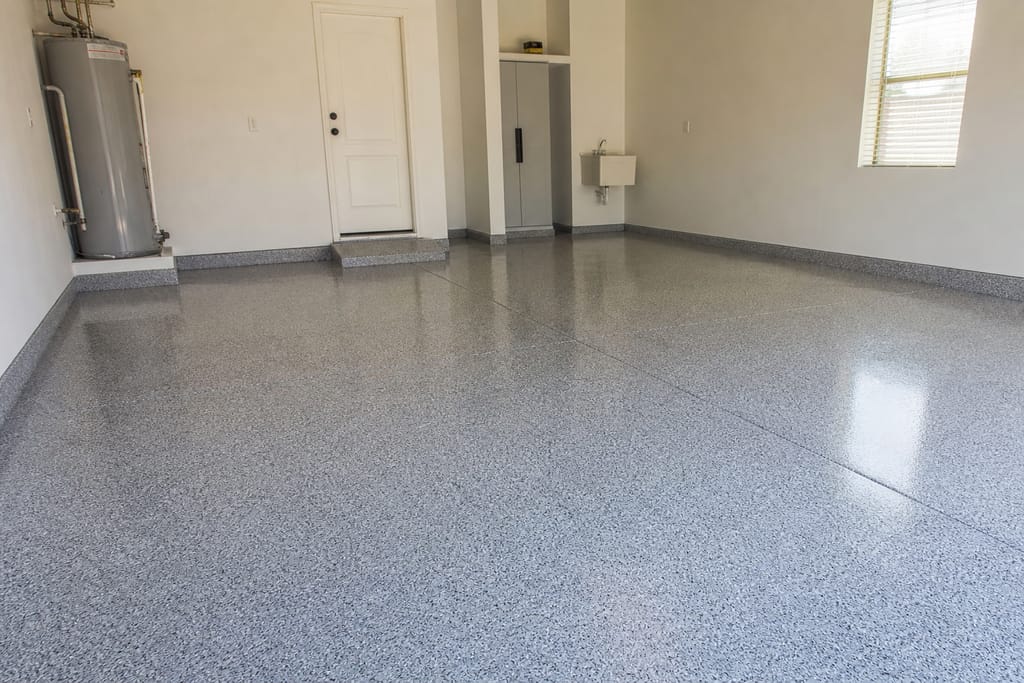
Epoxy Floor Coatings
Epoxy floor coatings for garages, basements, and utility floors in Prescott Valley, AZ. Moisture-tested, free estimates.
Polyaspartic Floor Coatings
Polyaspartic garage floor coatings in Prescott Valley, AZ. Fast cure, UV-stable topcoats. Free estimates available.
Polyurea Floor Coatings
Polyurea floor coatings in Prescott Valley, AZ. Flexible, fast-curing systems for slabs with minor movement. Free estimates.
Ask about Garage Floor Epoxy Coatings
Tell us about the project and how to reach you.